A few weeks ago, I was chatting with an MSc student who had just isolated her very first phage from a sewage sample. She was excited; she had purified the plaques, prepared a clean lysate, and was finally holding in her hands a stock of phages she could use for characterisation experiments. But then she asked me a question that almost every newcomer in phage research eventually asks:
“How should I store my phages?”
This might sound like a small technical detail, but anyone who has lost their only phage stock to improper storage knows how heartbreaking it can be. You spend days or weeks isolating them, only to open the fridge one day and find that the phages are gone, either inactivated, contaminated, or simply undetectable. For beginners in the “phage world,” storage is not just a technicality; it’s insurance that your hard work will be available tomorrow, next week, or even years later.
Recently, we ran a poll on our LinkedIn page (The phage) asking phage researchers which buffer they prefer for long-term storage. Unsurprisingly, SM and lambda buffer were by far the most popular answers. However, while the buffer is a critical part of the story, the truth is that there is more than one “best” method, depending on what you need and the resources you have. Let’s go through the most common practices used by phage labs around the world.
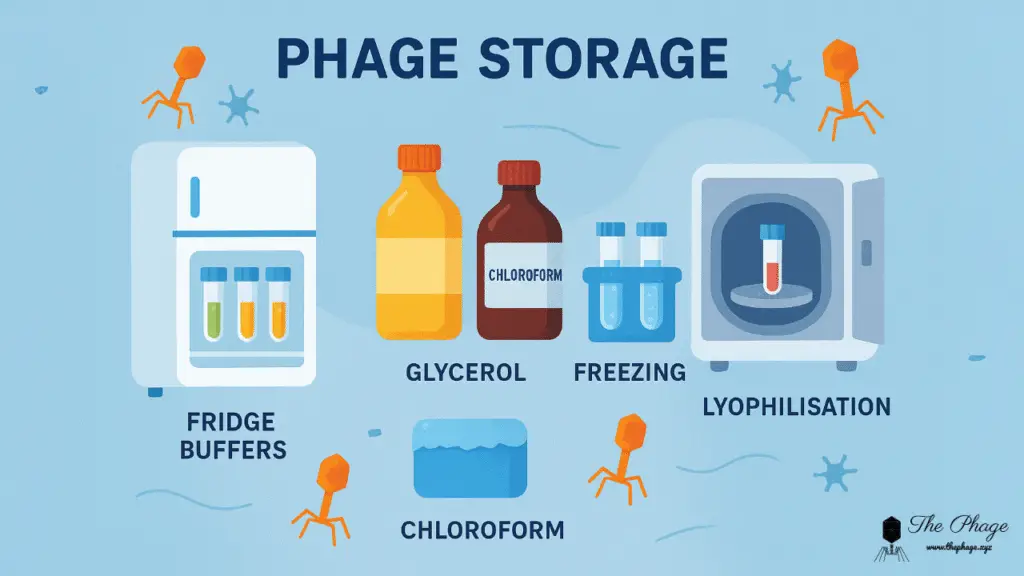
1. Storage at 4 °C in Buffer
The simplest and most widely used method is to keep phage stocks in SM buffer or lambda buffer at 4 °C (fridge temperature). This works well for short- to medium-term storage (weeks to months), and in many cases, even longer.
Why SM buffer?
SM buffer contains magnesium and sodium ions that help stabilize phage particles. In our LinkedIn poll, most researchers said SM or lambda buffer is their go-to choice, because it reliably keeps phages stable without much extra work.
Phage stability can also depend on certain cations, like Ca²⁺ or Mg²⁺. For most phages, the SM buffer in the fridge works just fine. But if you do notice stability issues, adding a small amount of calcium may help.
Practical note:
A regular fridge (4–8 °C) is close enough. Just don’t let the samples freeze accidentally; freeze–thaw cycles can severely damage phage particles.
2. Adding Glycerol for Long-Term Storage
If you need to keep phages for months or years, adding glycerol is a well-tested option.
How it works:
Prepare a 40% glycerol solution in SM or lambda buffer, then mix it with your phage stock to reach a final concentration of 20% glycerol. Glycerol prevents ice crystal formation if you freeze the stock and also helps protect phages in general.
Practical Tip:
Always label your tubes clearly (phage name, buffer, glycerol concentration, date). Unlike bacteria, phages don’t make the liquid turn cloudy—phage stocks look just like plain buffer. Without good labelling, it’s very easy to mix them up.
3. A Drop of Chloroform to Prevent Contamination
A long-standing trick in phage labs is to add a small drop of chloroform to stocks. This prevents bacterial or fungal contamination without harming most phages. The keyword here is most—some lipid-containing or enveloped phages will be completely inactivated by chloroform. Always test with a small aliquot before committing your only stock.
Why it helps:
Even after purification, bacterial debris or live contaminants may still be present in your lysate. Chloroform kills them off, leaving a cleaner phage preparation.
Practical note:
Your application matters. If you plan to use phages for therapy or any experiment involving live organisms, chloroform-treated stocks are not suitable. But for basic lab work and storage, it’s a useful safeguard.
Safety tip:
Chloroform is not just toxic to bacteria; it’s dangerous to humans, too. It can be absorbed through inhalation or ingestion, causing dizziness, nausea, and drowsiness, and in severe cases, heart or neurological problems. Always handle chloroform in a fume hood, with gloves and eye protection.
4. Clearing the Lysate Before Storage
Before storing for the long term, it’s good practice to remove bacterial debris. Cell fragments can sometimes re-adsorb phages, reducing their effective concentration.
How to do it:
Centrifuge your lysate and filter it through a 0.22 µm filter. Be careful, though; some larger phages don’t pass through a 0.22 µm filter. If that’s the case for your phage, use a 0.45 µm filter instead. This ensures you’re storing phages, not a mix of phages and cell junk.
5. Freezing at –80 °C or in Liquid Nitrogen
For very long-term storage (years), many labs freeze phages at –80 °C or in liquid nitrogen.
How to prepare:
Add glycerol first (final concentration ~20%). Without it, ice crystals will damage or destroy the phages.
Caution:
This is more of an advanced method for labs with access to ultra-cold freezers. Beginners are usually fine with fridge storage plus glycerol. When using liquid nitrogen, handle with extreme care, as it can cause severe cold burns.
6. Lyophilization (Freeze-Drying)
Less common in beginner labs, but worth noting, is lyophilization. This process removes water from the phage prep, leaving a dry powder that can be rehydrated later. With this method, you don’t need a freezer or fridge; you can store the stocks in a cabinet and rehydrate them when needed.
Some culture collections use lyophilization to archive phages. However, it requires specialized equipment and stabilizers (like sucrose), so it’s not usually the first method for new researchers.
Putting It All Together
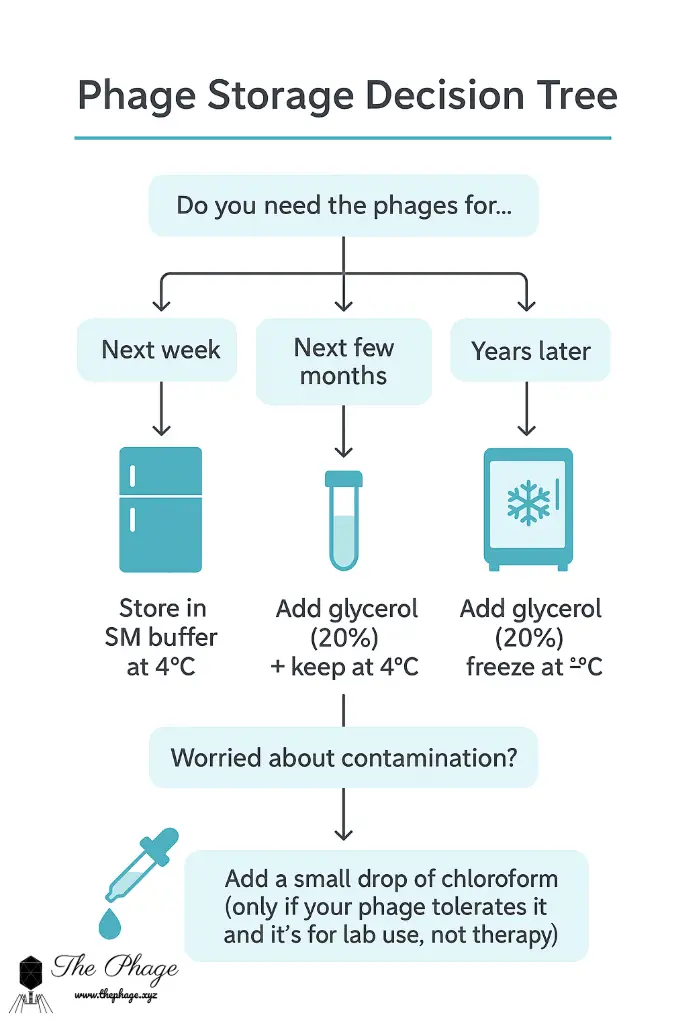
If you’re new to phages and just starting to build your collection, here’s a simple guide:
- Need them next week? → Store in SM buffer at 4 °C.
- Need them for a year? → Add glycerol and keep at 4 °C.
- Worried about contamination? → Add a drop of chloroform (if your phage tolerates it).
- Want to keep them for years? → Prepare glycerol stocks and freeze at –80 °C.

There isn’t a single “best” method that works for all phages. Each phage behaves differently, and part of becoming confident in phage research is testing what works best for yours. Still, as our LinkedIn poll showed, most phage scientists agree that SM buffer, with or without glycerol, is a reliable place to start.
Remember
Phage research is full of trial and error, and storage is no exception. If you’re just starting out, don’t be discouraged if one method doesn’t work perfectly the first time. Keep detailed notes, label your stocks clearly, and don’t be afraid to try different approaches. Every experienced phage researcher has a story about losing a stock, and every one of them will tell you they learned to never skip the basics of storage again.
So the next time you isolate a phage, think of storage as your “insurance policy.” It’s what ensures that the hard work you do today will still be useful tomorrow.


Leave a Reply
You must be logged in to post a comment.